Are you frustrated by the ugliness that results when you try to take a picture with your camera’s flash? Well, I was, so I recently built a diffuser for my SpeedLite in an attempt to mimic a Gary Fong Lightsphere Collapsible. Why not just buy one of Gary Fong’s diffusers? Well, first some background:
While I’ve been an avid amateur photographer for most of my adult life, I’ve only recently managed to pick up my first SLR camera – a Canon Digital Rebel XTi. This thing is great – I’m finally able to capture the fine nuance of what my eye sees in vivid detail… well, as long as there is enough light, that is.
See, when you take a picture of an object, your camera is actually capturing the light that bounces off of that object from whatever light source you happen to have handy. Regardless of the camera you are using and the subject of your photo, when you have great light, you can wind up with great pictures. However, if you have poor light even the best photographer will wind up with poor pictures.
So, what is great light? Well, it really depends on what you are trying to do. Do you want sharp shadows? Do you want strong contrast? Do you want your colors to be vibrant or subdued? Do you want light to be stronger on one part of your subject and weaker on another? Do you want to bounce a blue light off a red object to make it look purple? The variation of light sources and their resulting effects is nearly infinite, but there are 2 main types of light that I look for and use as a photographer:
- Hard Light: I call it this because it casts hard shadows. This is produced by lights with a very small surface area.
- Soft Light: So named because it casts very soft shadows and provides very even light. This is produced by lights with a very large surface area.
Now, to produce really flattering images of people (or pets, or products, or whatever you want to shoot) you need VERY soft light… not necessarily dim – but SOFT. This means you need your light to come from as large a surface area as possible. The flash on your camera is not large at all. In fact, on most SLR cameras it is only about a square centimeter or so. Using this flash as your main source of light is a great way to shoot horrible pictures.
A “SpeedLite” or detachable larger flash will provide better pictures, but shooting it directly at your subject will still produce unflattering results similar to the on-camera flash. If you have a lightly colored wall or low white ceiling available, bouncing your flash off them can produce much better results because the whole wall winds up acting as your light source. But what do you do if there are no great options for bouncing? Well, you’ll need a diffuser.
A diffuser accomplishes 2 different goals: Spreading the light and making the light source surface area larger. When looking for a diffuser for my flash, I quickly found the Fong Lightsphere and was impressed with the quality of the photos it produced – and decided to buy one.
Then I looked in my wallet.
Now, let’s be honest: Fong’s diffuser is not all that expensive. If you have the means and want to spend the money, I highly recommend shelling out some dough and picking one up. But if you are at all like me, you’ll try to come up with something similar for much cheaper. In fact, as it turns out Google knows all about people like me who have tried to come up with their own diffuser design. In digging through these, I found the DIY Gary Fong Lightsphere site, and after wading through all the advertisements and attempts to make me become a “pro” member of their site, I decided to see if I could come up with something similar.
There is no IKEA around here, so I headed to my local home improvement store: Lowes.
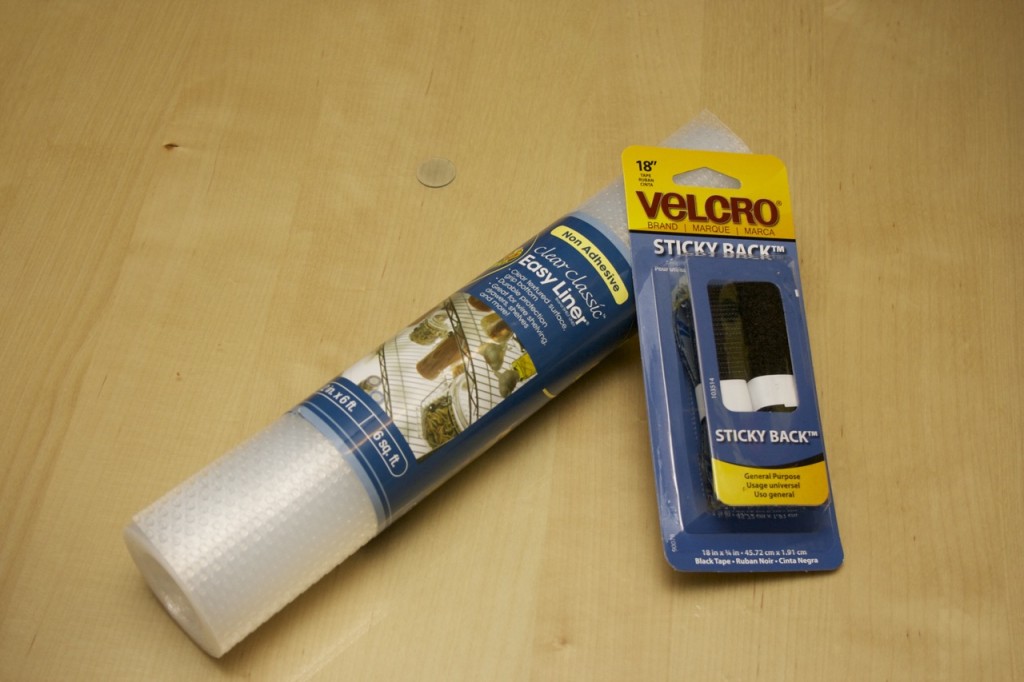
I picked up 2 items at a total cost of $14.21. The items are pictured below:
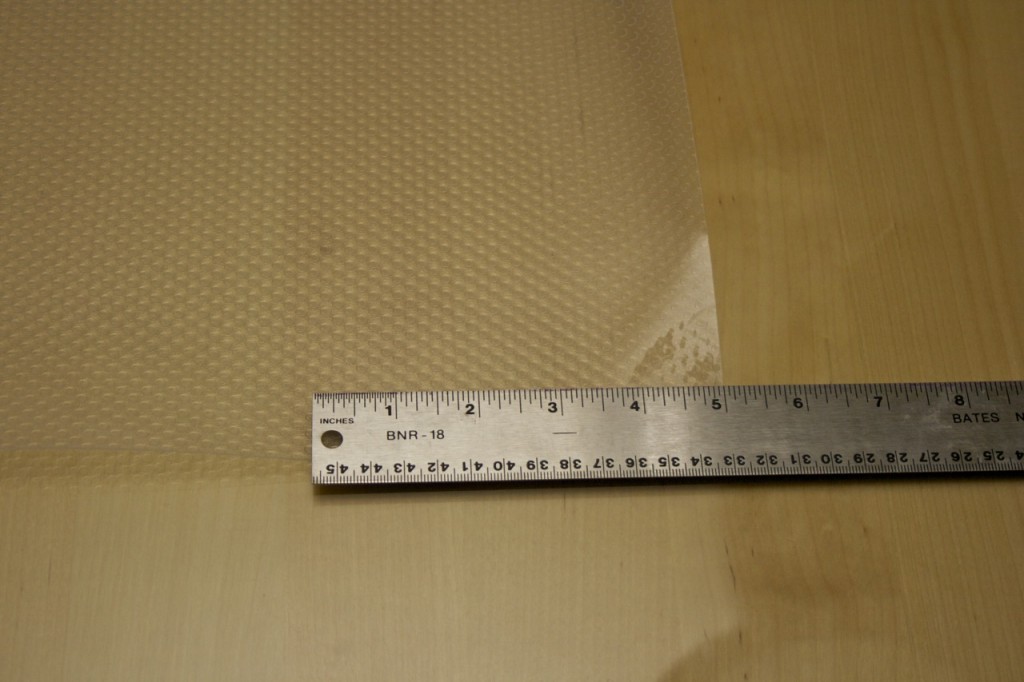
Totally guesstimating, I measured 5 inches off the end of the roll and cut it carefully with a sharp pair of scissors.
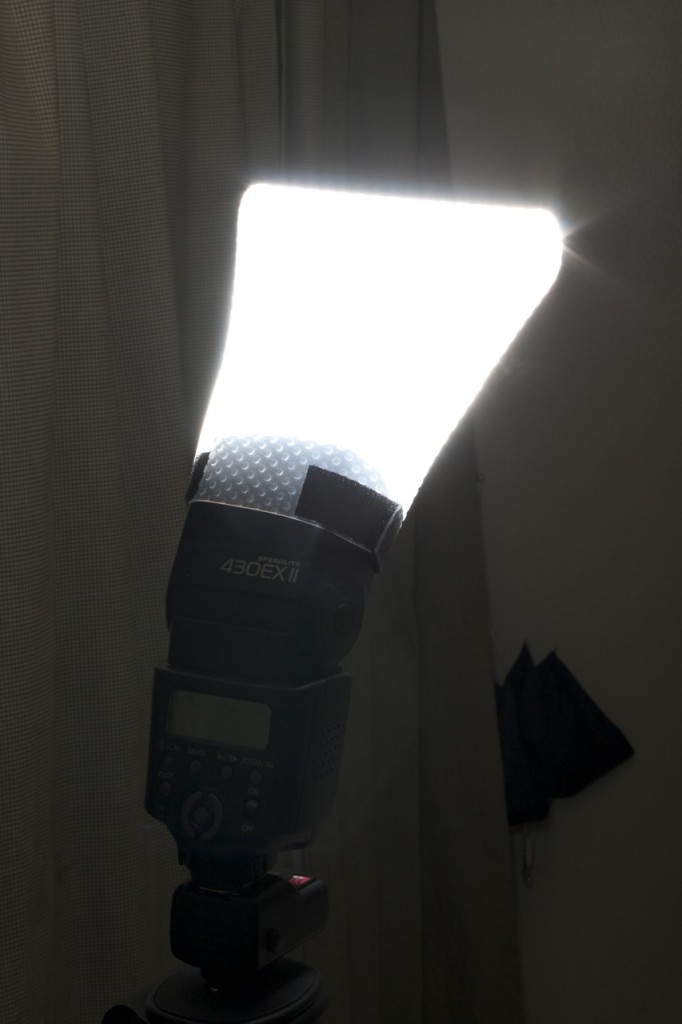
Then I slapped some velcro on the ends and that was that. I attached it to my flash and started running around the house taking test shots and muttering to myself about the results. A quick word about the velcro: There are 2 sides to this drawer liner – a very smooth side and a very bumpy side. You want to put one piece of velcro on the smooth side and one on the bumpy, or else they won’t attach to each other when folded over your flash. That’s the only hard part about building this thing – get that right and you’ll be all set.
So, jonesing to see some results? Before we jump into that (unless you just skipped ahead… ) I wanna say this: This diffuser (and any diffuser) will not instantly make your photos look fantastic. This will merely manipulate your light in new ways. For me, the results were unexpectedly good in some instances, but unexpectedly bad in others. You’ll have to get used to when it is right to use a diffuser to get the most out of it.
Here are some comparison shots I did with the diffuser on and off.
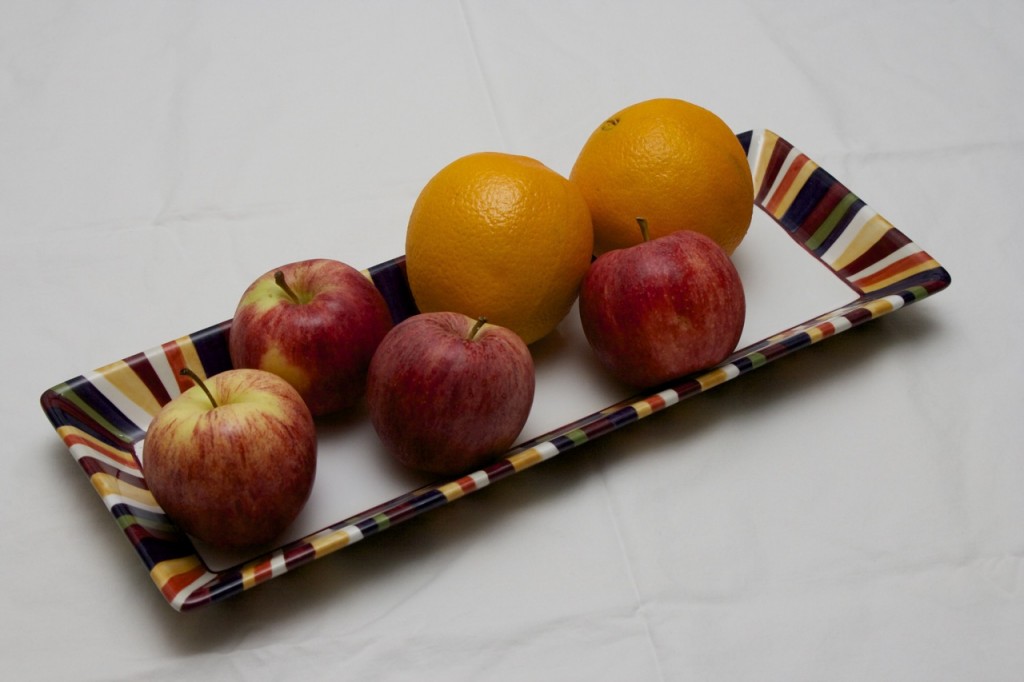
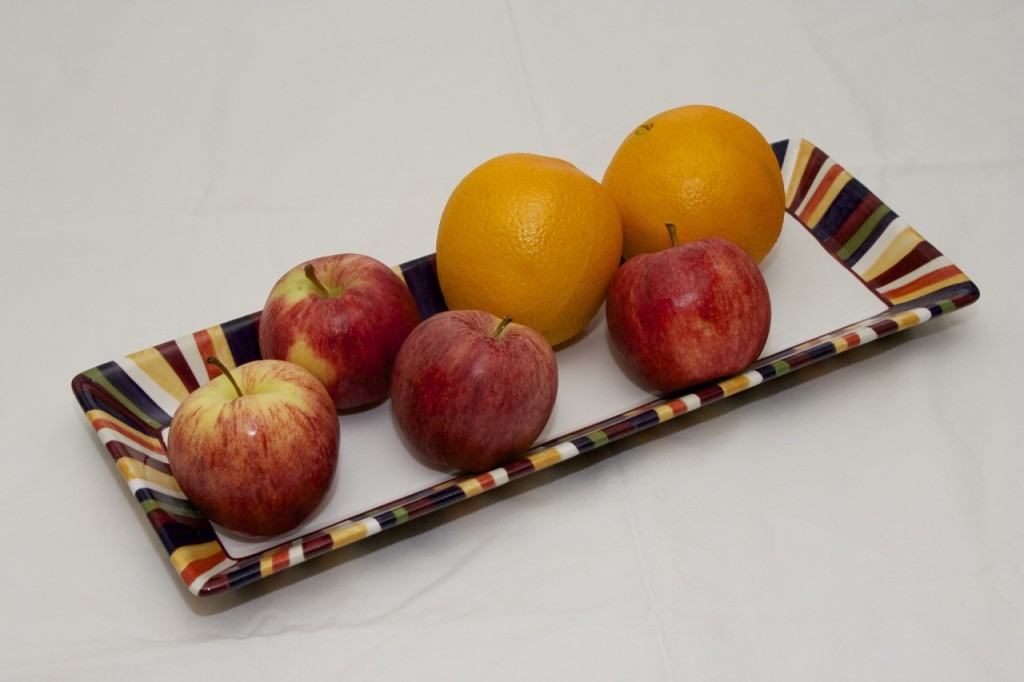
With this set there are a few surprises : I was surprised to see the sharper shadows in the second image above, but now understand (after shooting a bunch more comparisons) what is going on here. The flash was pointed up at the ceiling as in the first image, but the light was being bounced around and redirected out the front face of the diffuser as well. Effectively, this produces 2 light sources: There will still be plenty of light hitting the ceiling and bouncing back, but there will *also* be plenty of light forced out the front of the diffuser directly at your subject. This is important to understand, as it can produce some very unexpected results.
Here is another comparison:
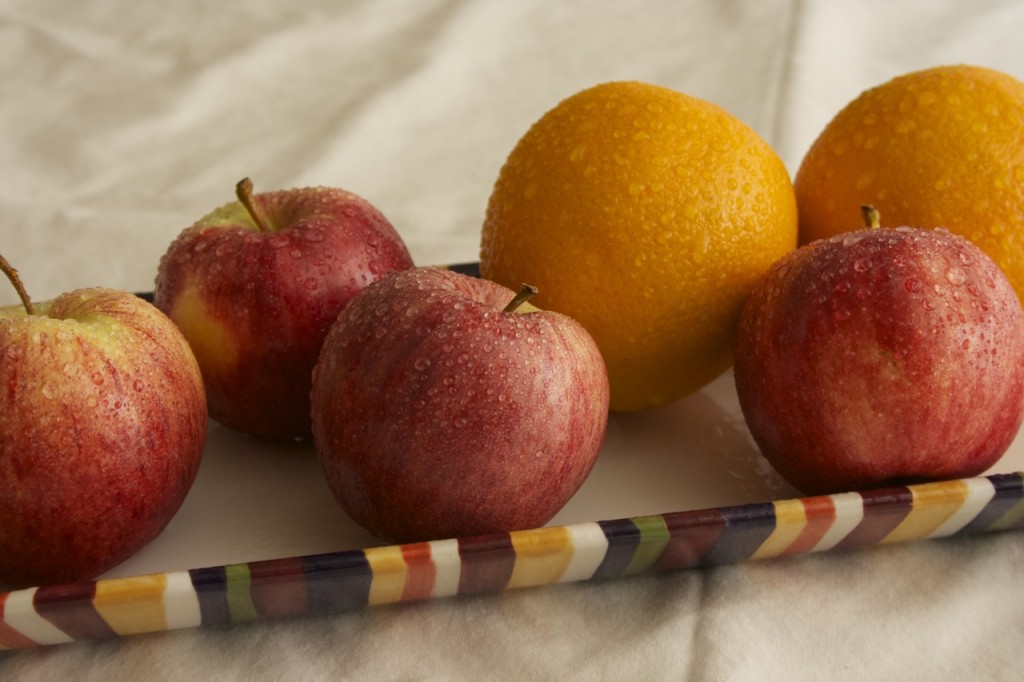
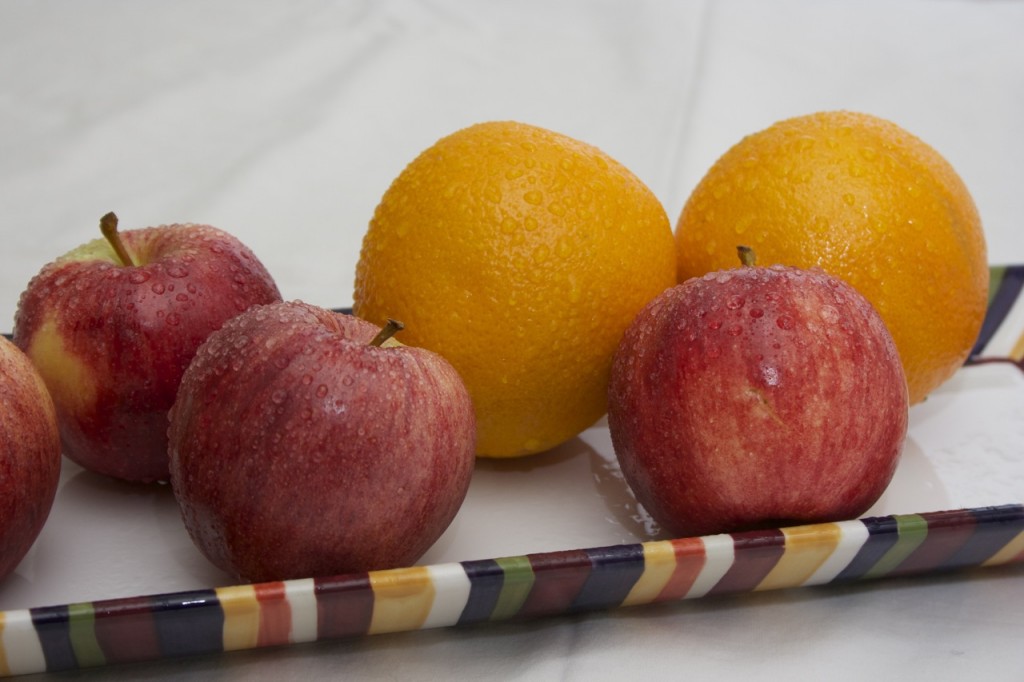
These 2 images illustrate how using a diffuser can be the wrong choice sometimes. In the bottom image, we are getting too much light directly diffused off the flash towards our subject, and losing the great texture and depth of shadow that the first shot captures so well. Also note the much cooler tone of the image with the diffused flash.
Now for an example that uses the above effect for better results than a typical bounce flash:
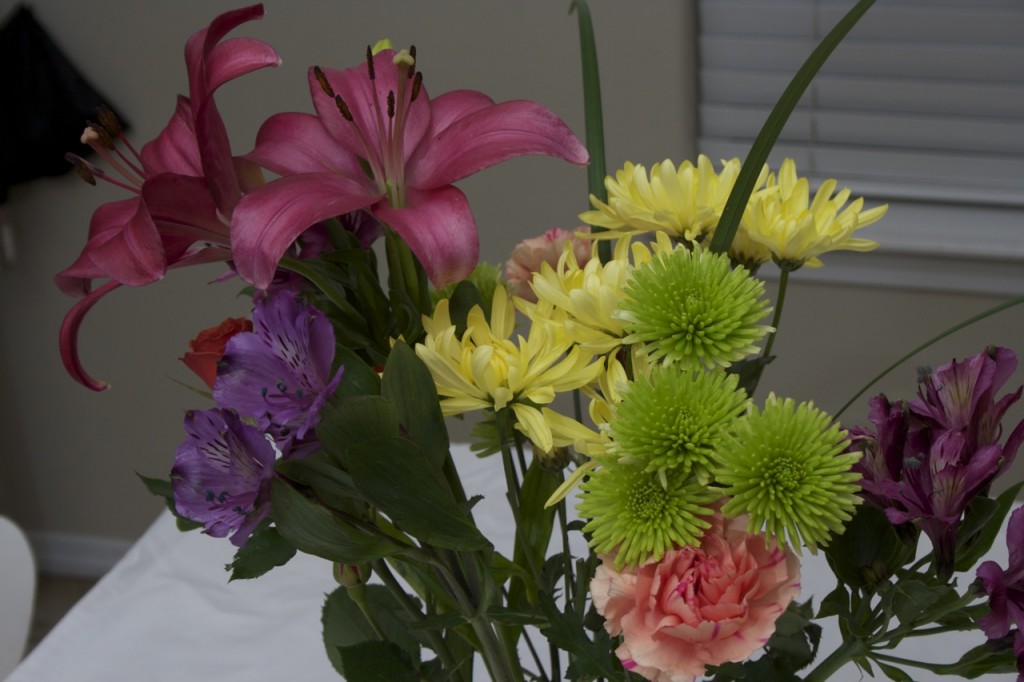
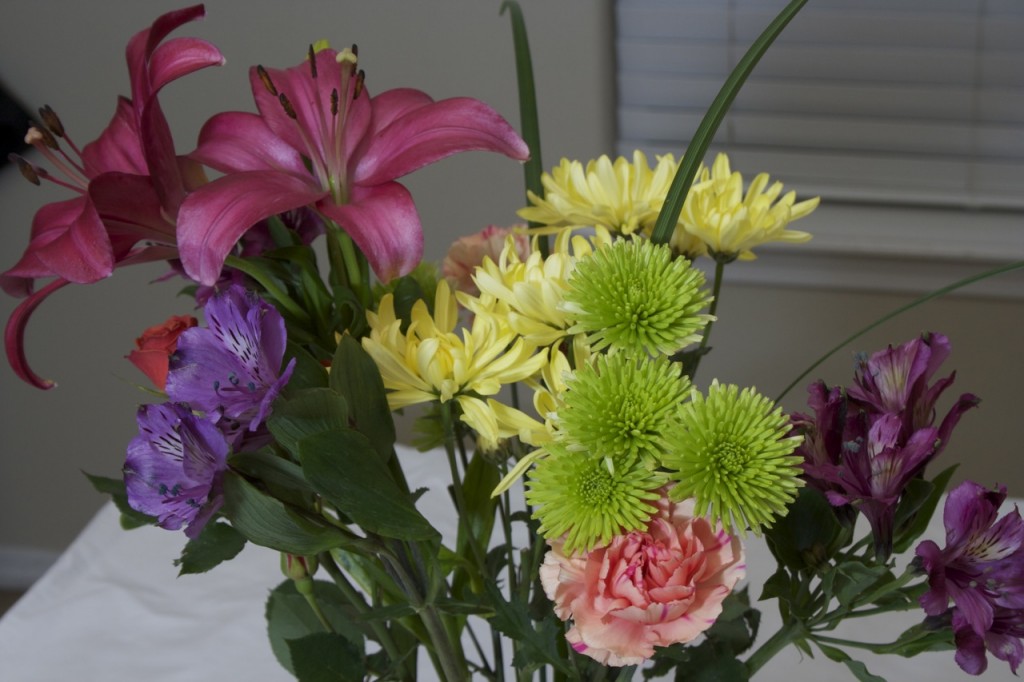
The differences between these 2 shots are very subtle, but come down to using the right combination of the light bouncing off the ceiling and the light coming out the face of the diffuser. In the top picture, the colors are subdued slightly and flatter. In the second picture the highlights on the petals (especially the lily) are much more pronounced. These highlights were brought out by the light emitted from the face of the diffuser, and make the difference between the somewhat flat first image and more vibrant second image.
“What about portraits? I heard that diffusers were great for portraits!”
Well, here are a few (this is my wife’s “folding laundry” face):
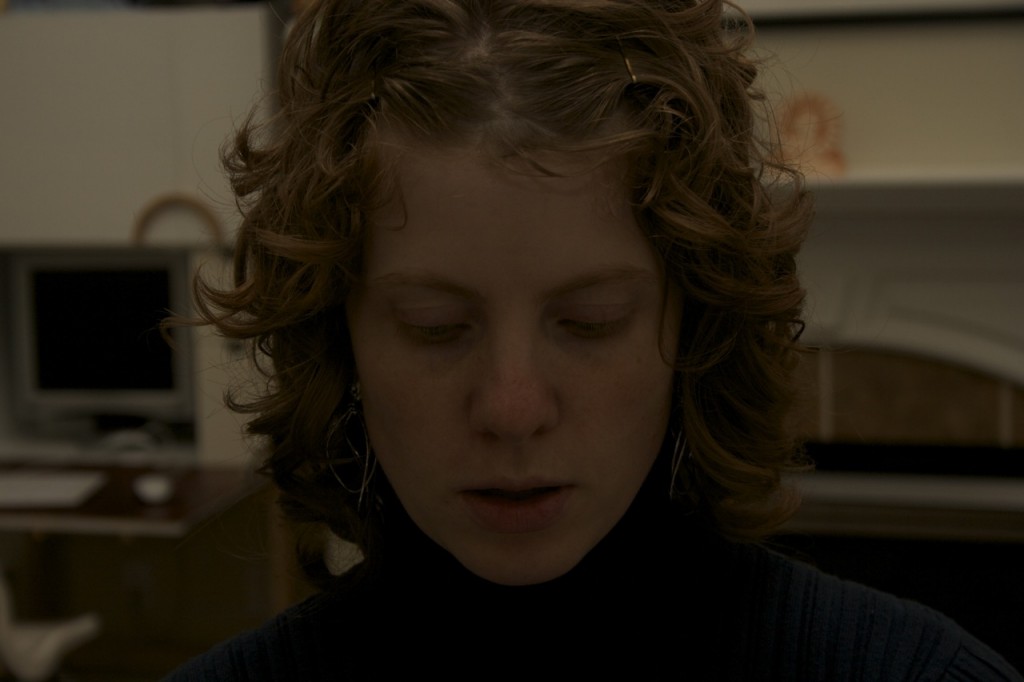
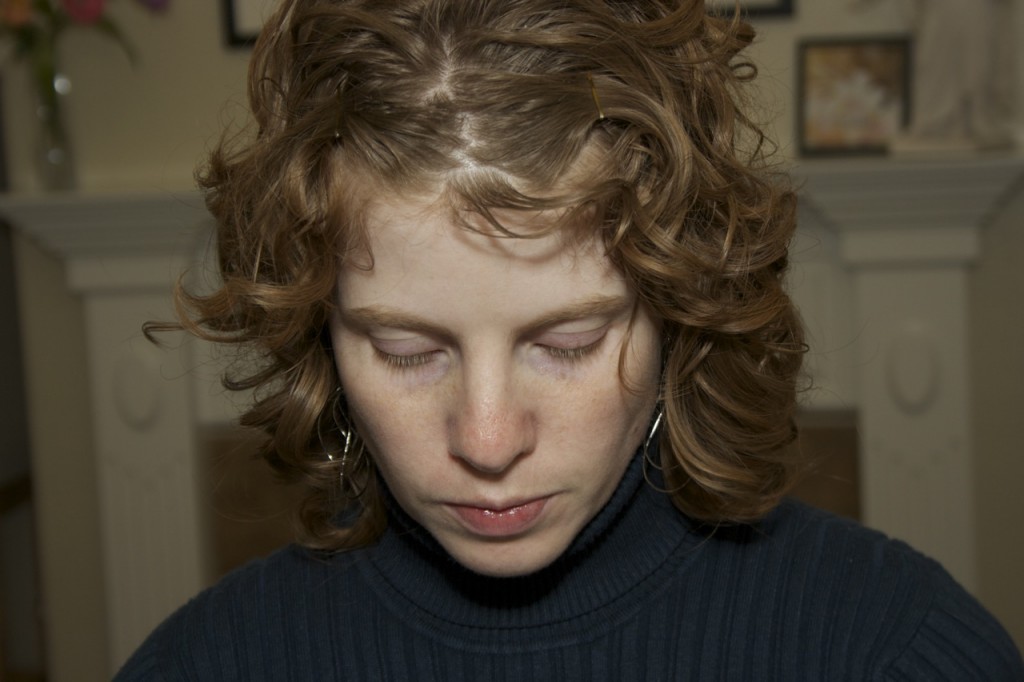
This comparison is what really gave me the “ah ha!” moment about how the light was being manipulated by the diffuser. Yes, the light on her face can be improved further (keep reading!) but With the diffuser you get great depth to her hair, and very even light with softer shadows than you would get with a direct flash – better capture of the contours of her face for sure.
Thinking it would be more fair to point the flash directly at her for a better comparison, I took these next 2:


What a difference! Great highlights and much more even hair, you can see the texture of her sweater, and her face is much more evenly lit. I knew I could get it to produce even better results, though.
This next comparison is of 4 types of flash: built-in pop-up, SpeedLite aimed at subject, SpeedLite bounced off the wall, SpeedLite with diffuser bounced off the wall:




Now I can see what all the fuss is about with diffusers! This last shot is leaps and bounds better than the first with just the built-in flash, and is noticeably better than the best I was able to do in this setting with a bounce off the wall. I’m thoroughly convinced that my $14.21 was money very well spent!
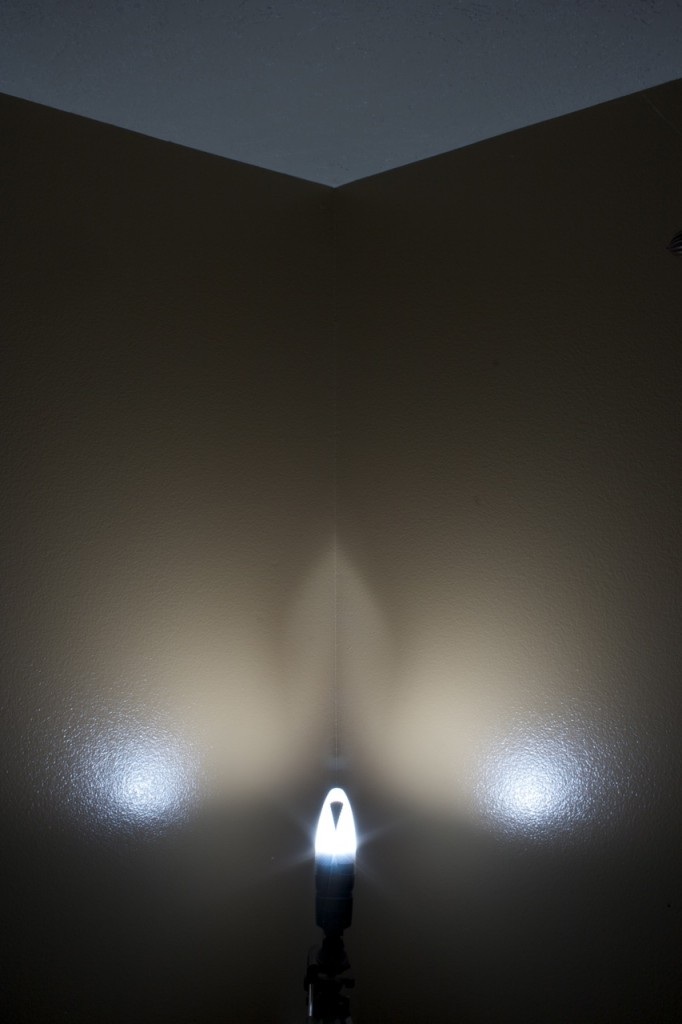
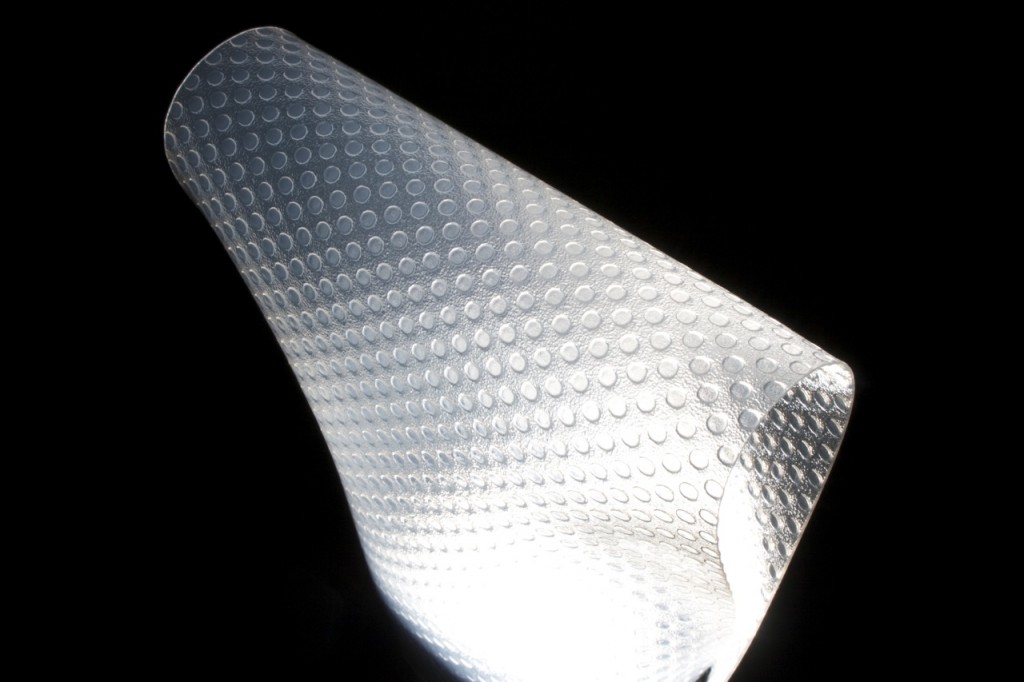
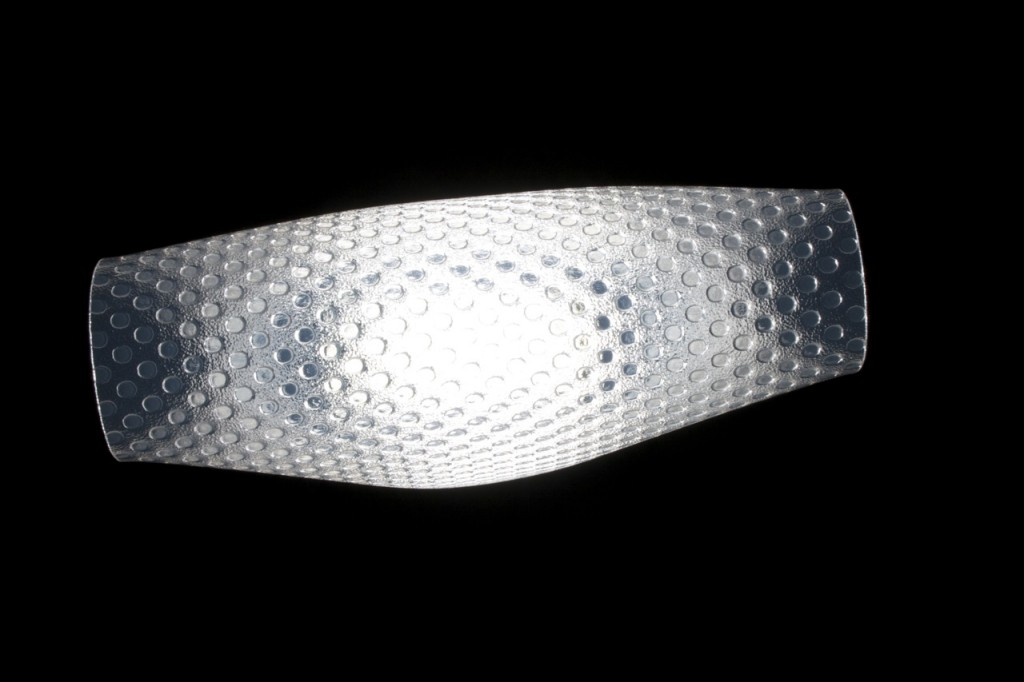
Here are some other interesting shots of the diffuser and the pattern of light it throws. Note that it is not a perfectly even light (as I’m sure the Fong diffuser does) – at the corners it will throw sharper light than from the faces:
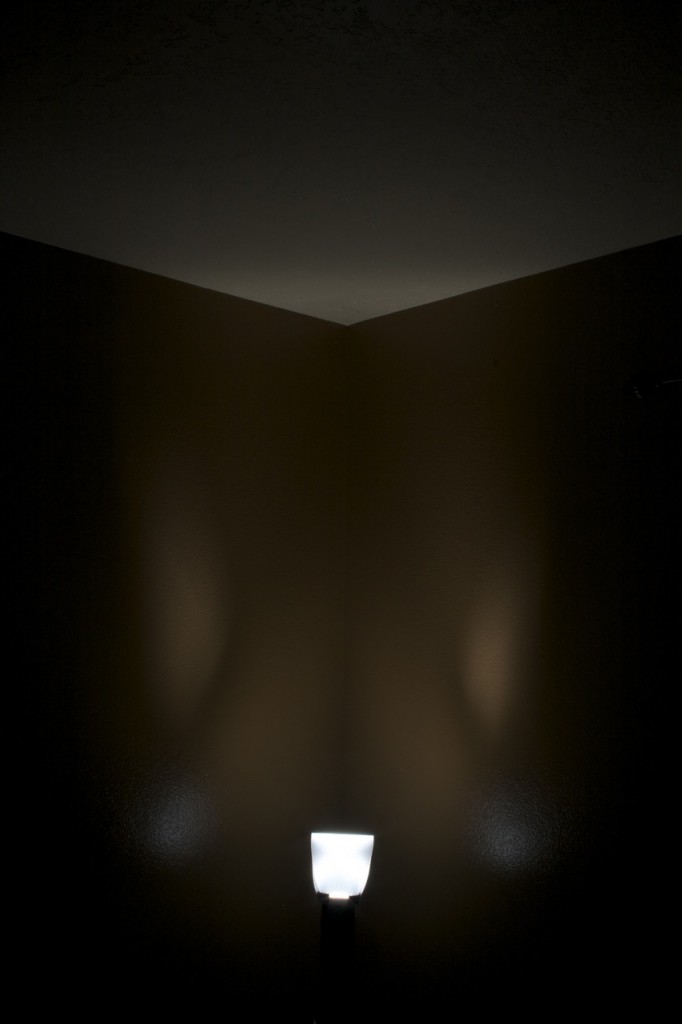
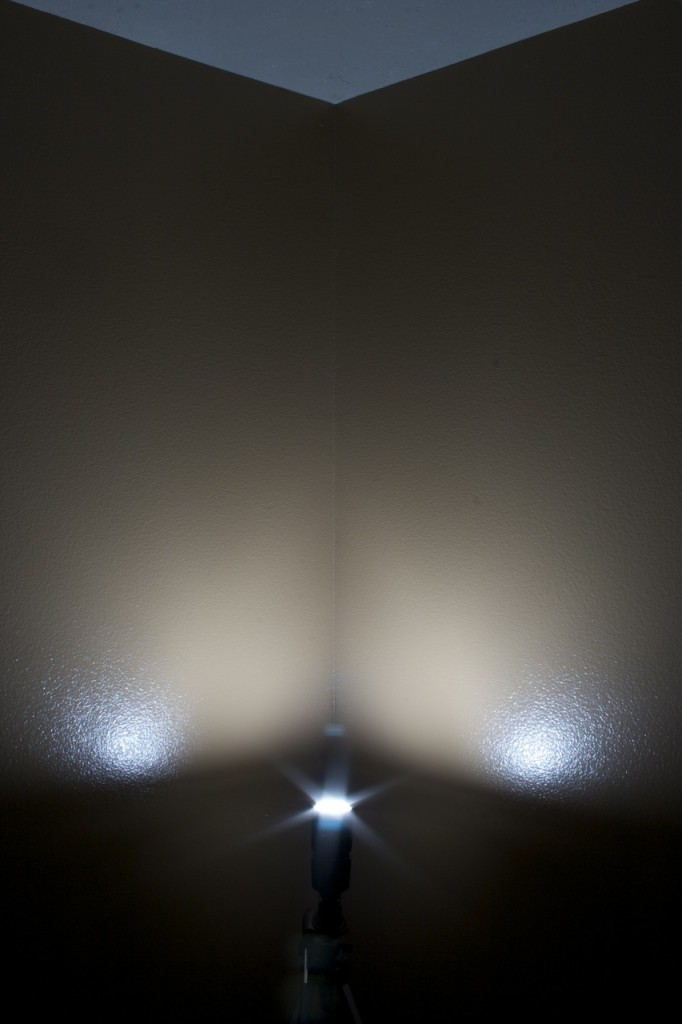
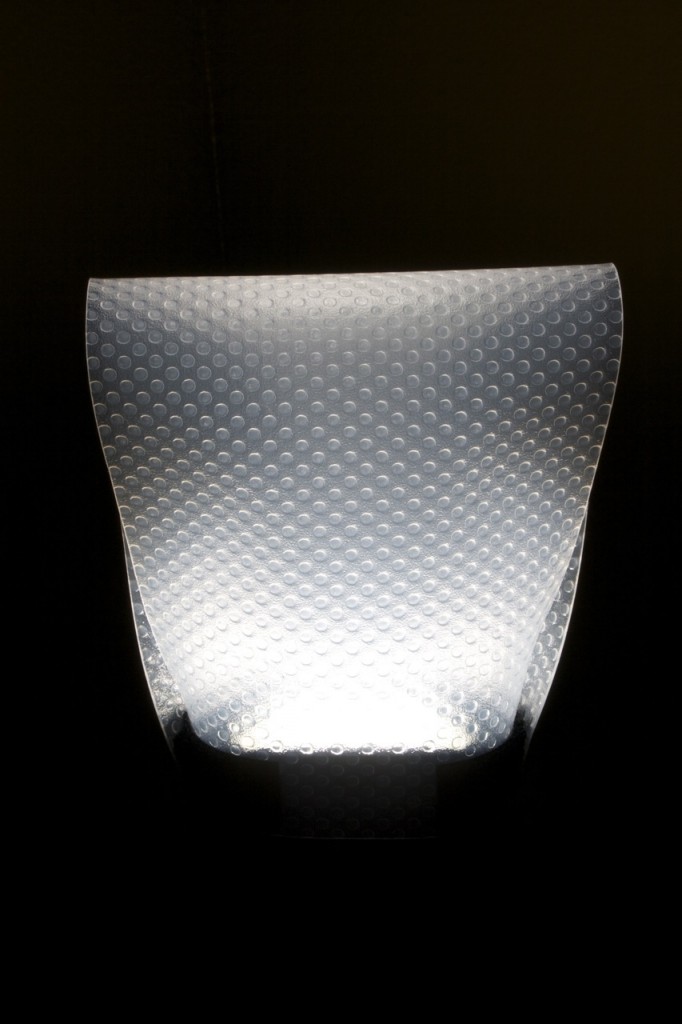
Based on my experiments with this diffuser, I’d say that it can definitely improve some shots, but can also make some worse. Learning to anticipate what it will do with the light from your flash is an exercise left for the reader. 😉
Oh, as an extra bonus, this thing rolls up nice and small and fits easily into my already cramped camera bag.
Side Note: When I bought the roll of drawer filler stuff, the smallest roll they had was 6 FEET long. I only used 5 inches. Similarly, I had to buy tons more velcro than I actually needed for this project, so I have enough leftover material to make about 10 more of these things. If you want one, I’d be happy to make it for you and ship it anywhere in the US for $10. Just drop me an email and let me know what sort of flash you’ll be putting it on so I can make sure it will be big enough. You can paypal me the money or send a spiffy $10 bill in the mail. I’m only going to make these for other people until my material runs out – I’m not looking to get rich here, just want to get rid of my leftovers. Thanks!
Would love to hear your comments or suggestions below.
Leave a Reply