The weather is turning colder, and Christmas will be here before you know it. This year, you can add your own homemade manger to your decorations! Here’s how:
Here’s what my finished manger looks like:
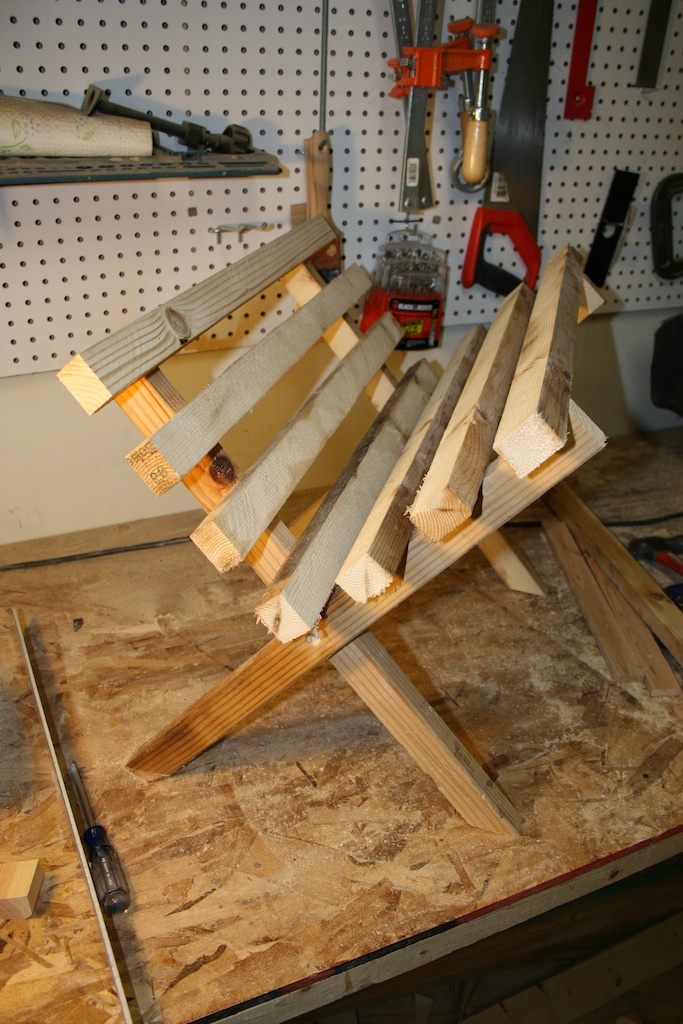
Step one: Get some wood. The look and feel is totally up to you, but I went with some rougher and more beat up scraps I had laying around. Decide how wide you’d like to make your manger – everything will be cut to the same length. I chose 24″, which worked out well.
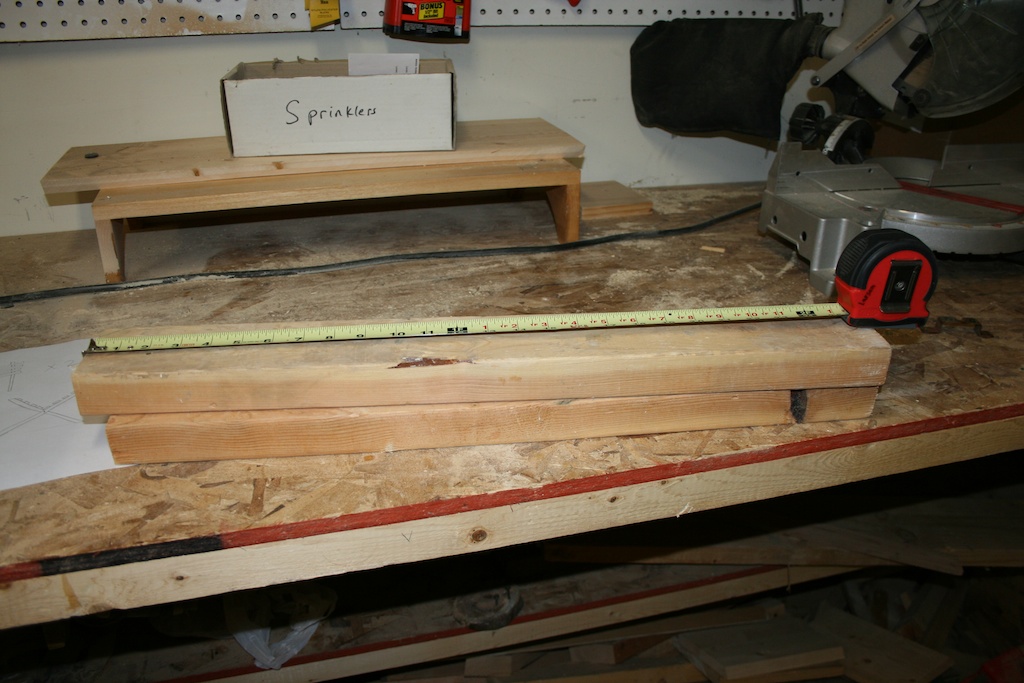
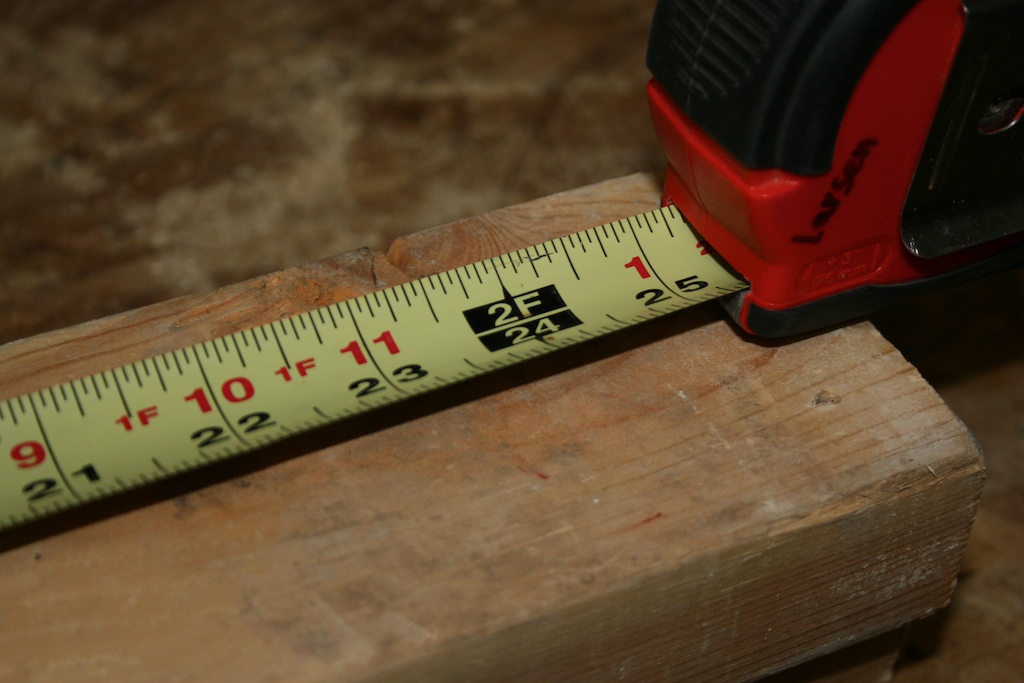
Step two: Cut the wood, not your fingers. A table saw is best for this, but you can also use just about any kind of saw. I started with 2×4 lumber, and I wanted to use 1×2 lumber for this project, so I elected to just rip the 2×4’s lengthwise into 3 pieces. If you follow my pattern, you’ll need 11 pieces that are 24 inches long, so you’ll need to rip 4 2×4’s, and you’ll wind up with one extra piece. This can be used to make a shotgun, sword, or spear.

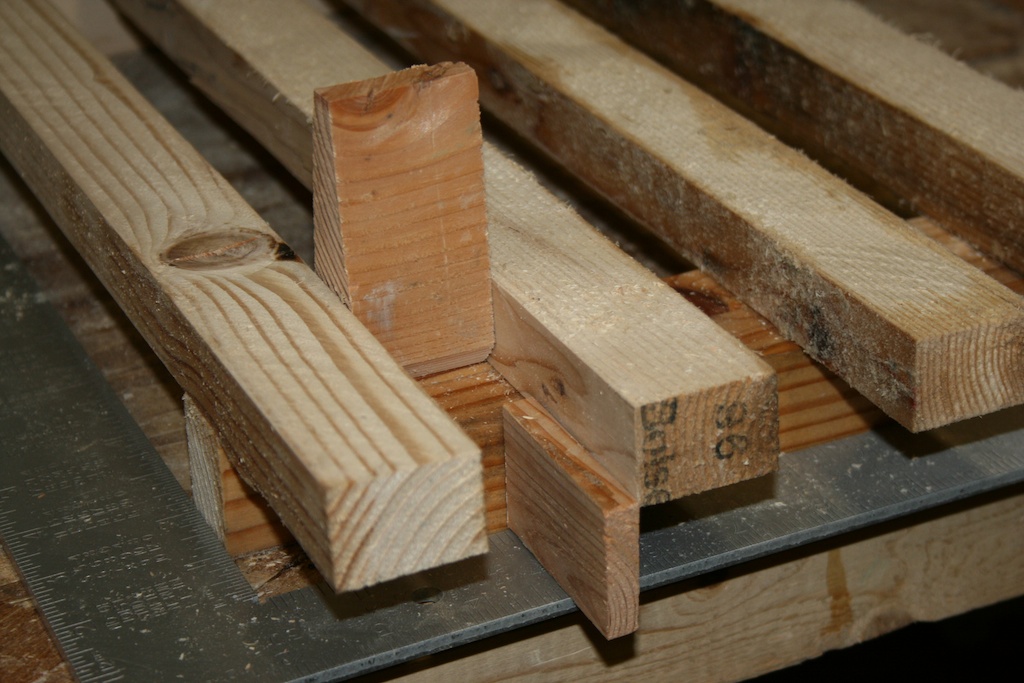
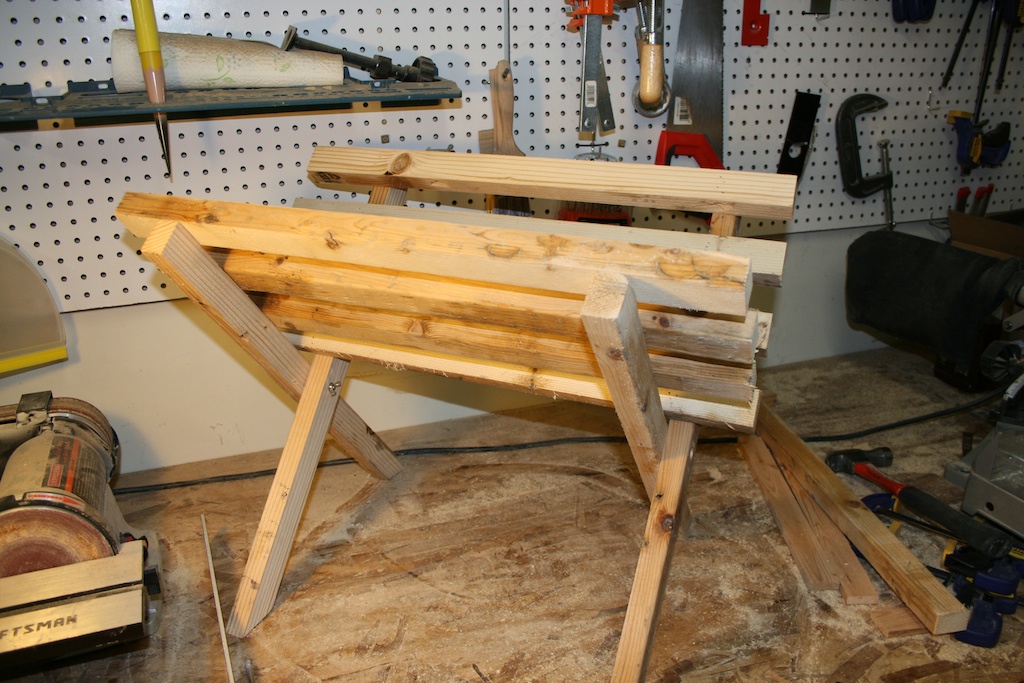
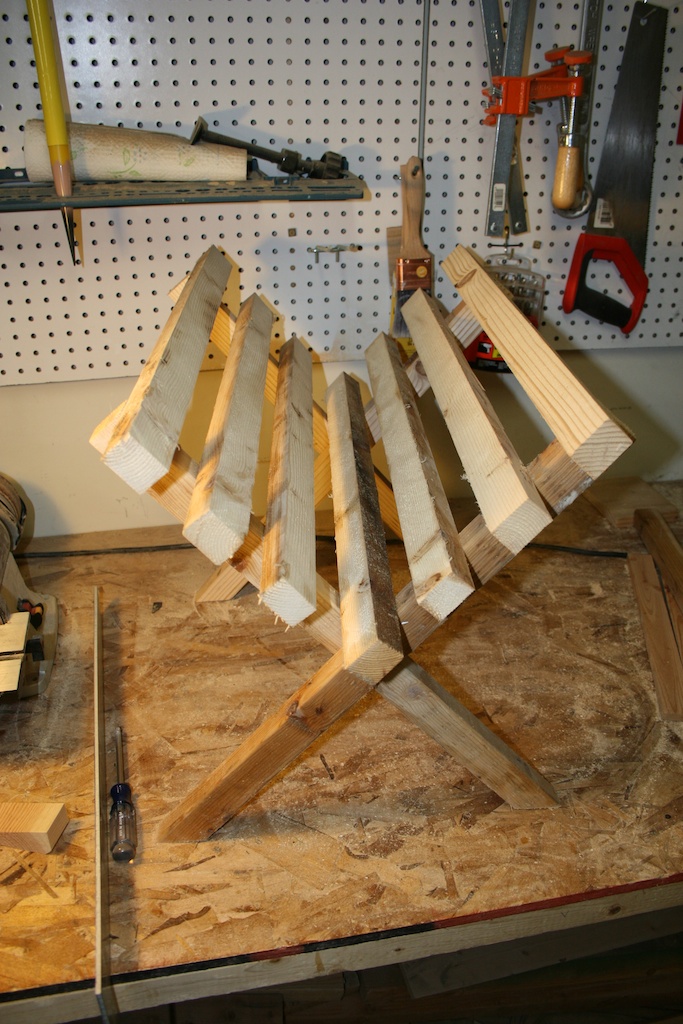
Step three: Make an X. Since I wanted to allow this thing to fold up for easier storage, I came up with a simple X design that would allow the entire manger to fold flat so I could easily slide it onto a shelf when not in use. Choose 4 of your favorite pieces you ripped in the previous step to use as the legs. Cut off a small 45 degree chunk at one end only of each piece. This will allow the bottom corners of the feet to sit flat on the ground when the manger is in use. After you’ve cut the feet, measure and mark the center of each piece, then drill a hole straight through all 4. Use some washers, a bolt, and butterfly nut to assemble the legs. Note: you’ll want to start paying attention to which is the “inner” leg and which is the “outer” leg, as you’ll need to assemble the X pieces such that the 45 degree cuts at the bottom sit flat on the floor. See the pictures below to see what I mean.
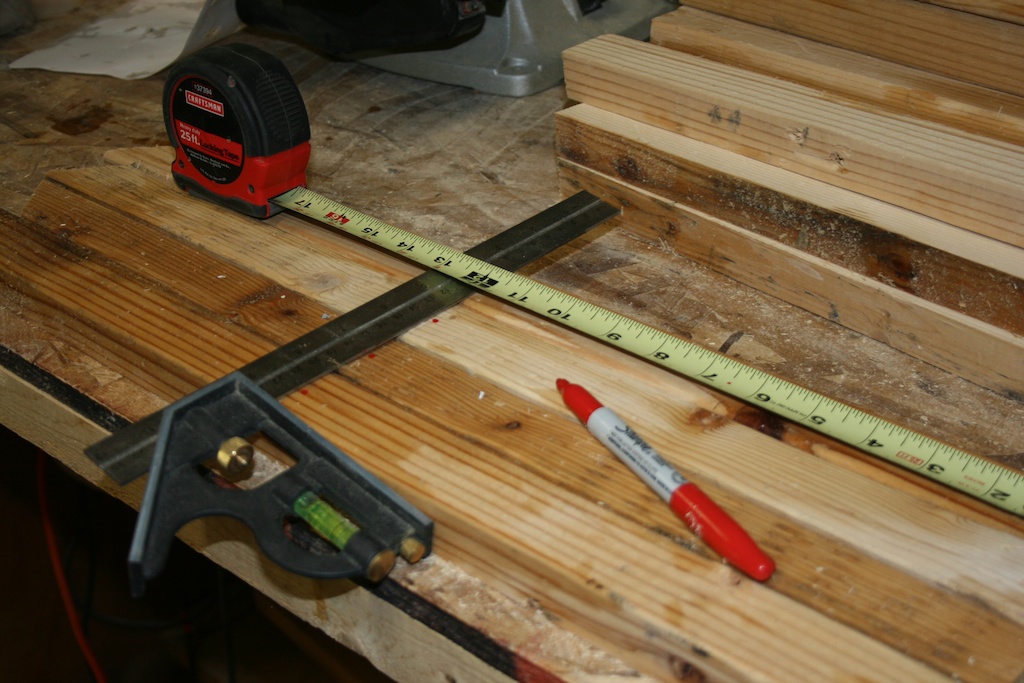
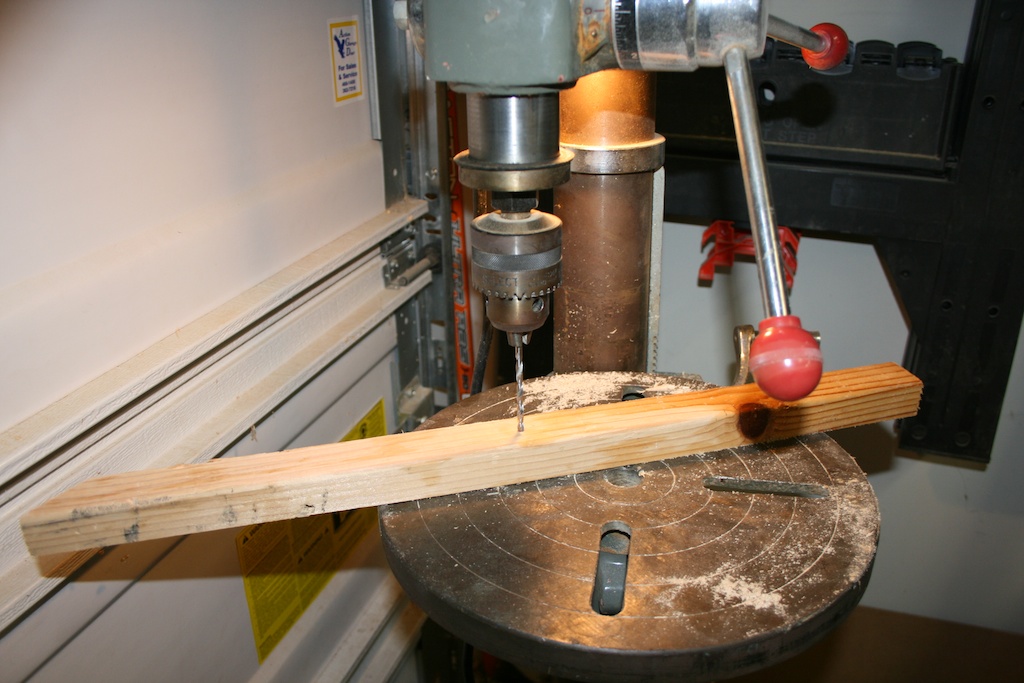
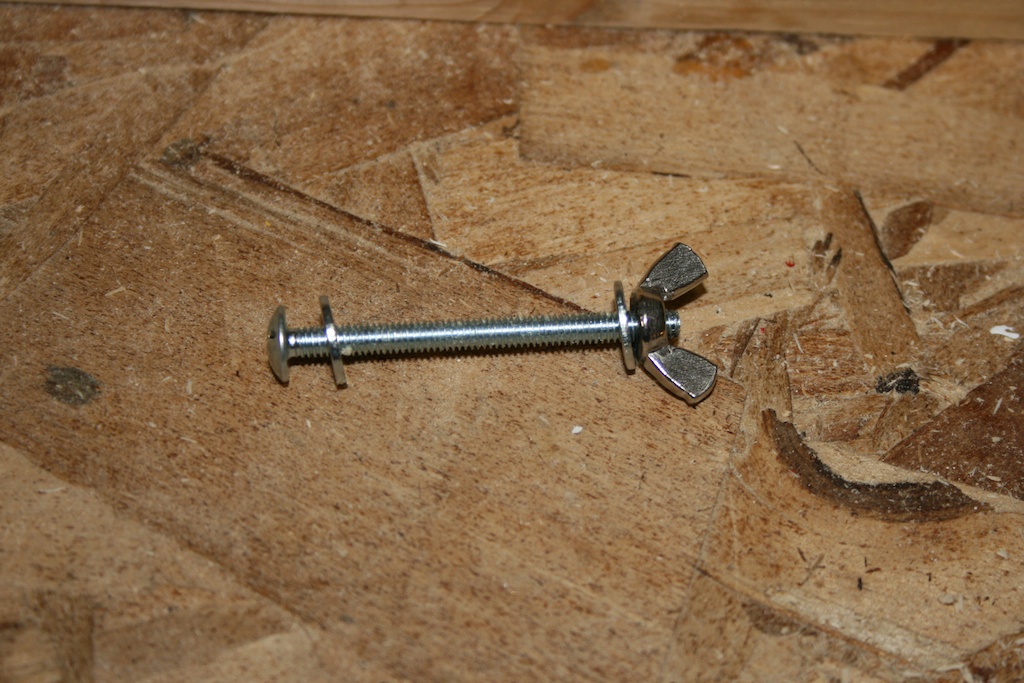
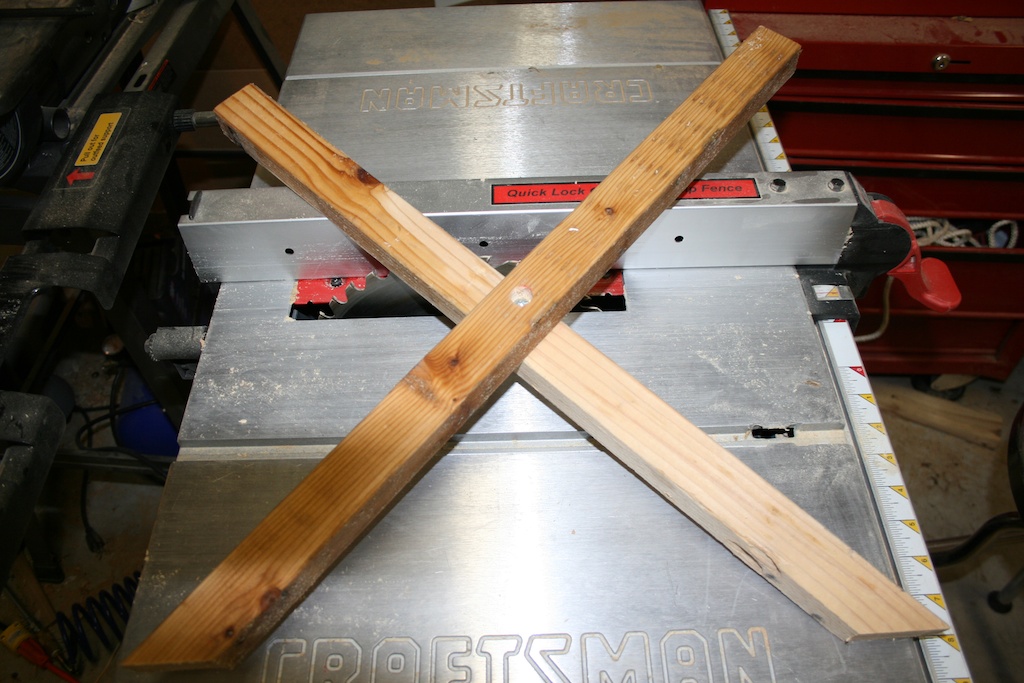
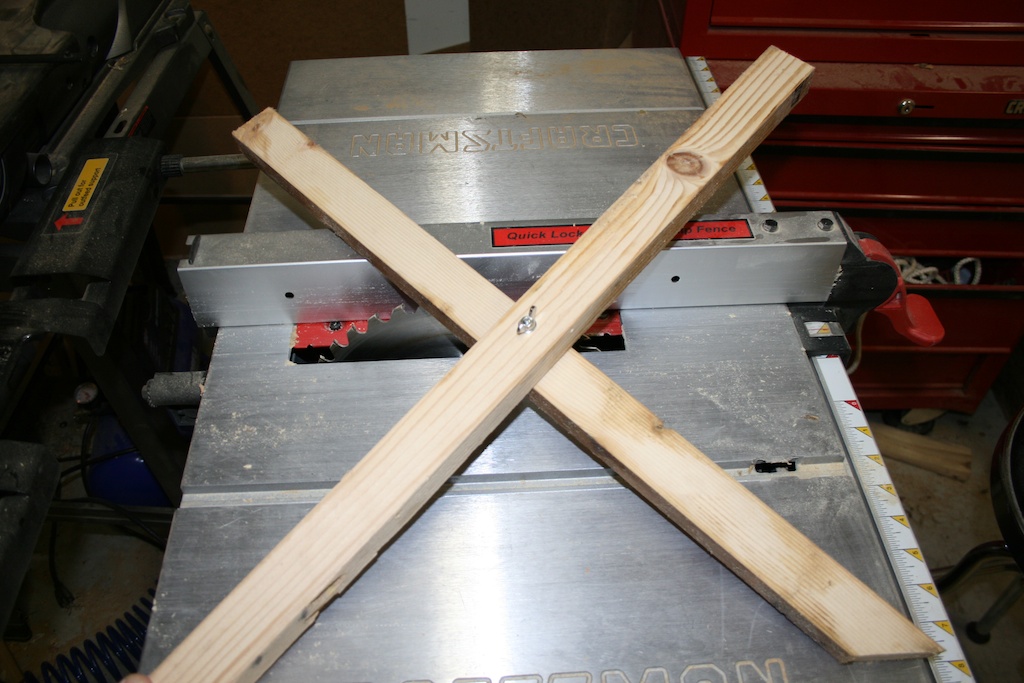
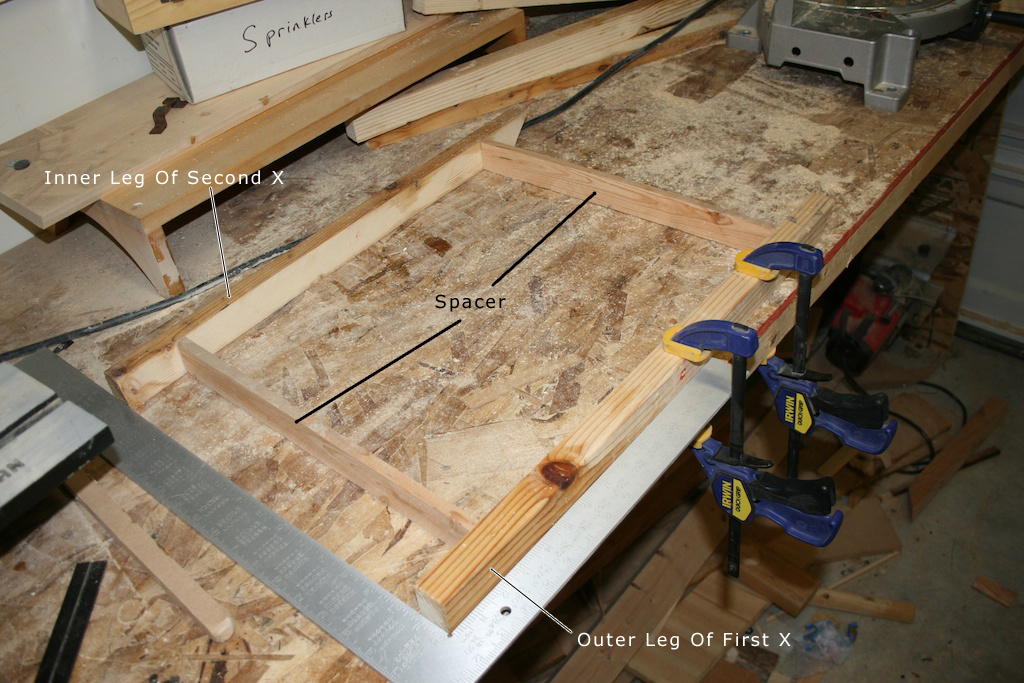
Step four: Take the legs apart. Yup, I just had you assemble the legs to make sure they would fit well together, and that they will fold flat and back into an X easily. Take them apart so that you can more easily attach the cross pieces of the manger. The most important part of laying out the cross pieces is to make sure that the legs are square, and that the pieces are all lined up and spaced evenly. To do this, I used a large carpenter’s square to lay out one leg from each side, along with some smaller spacer pieces I cut to make sure they were square. Start by placing the outer leg of one X and the inner leg of the other X. Once they are square, then place the inner leg of the first X and the outer leg of the other.
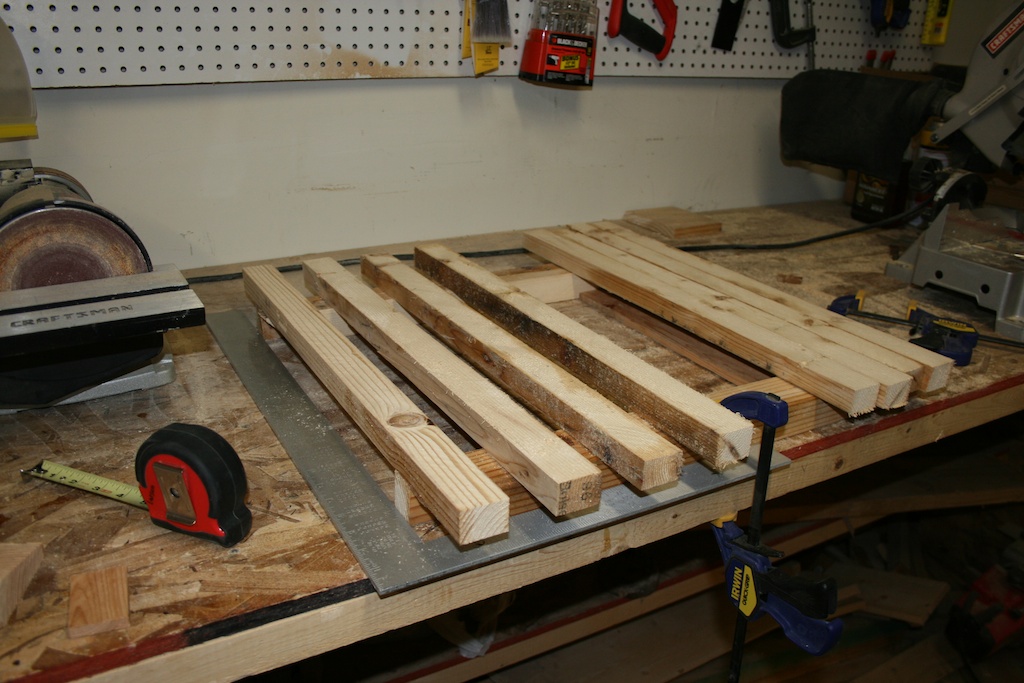
Step five: lay out and attach cross pieces. Now that your legs are all ready to go, grab all your cross pieces and lay them out. You’ll want 4 up one side, and 3 up the other. Space them so that the 4th piece on the first side sits perfectly at the bottom of the V that is formed as the top part of the X the legs make when it is set up. Look back at the picture above of the finished manger – see how both sides have 3 cross pieces, with a 4th one right at the bottom of the V? That 4th one will be attached to one side or the other – which one does not make a difference, just make sure you to it the same on both sets of legs. To space the cross pieces evenly, I cut a small piece of 2×4 to the right size to set the gap in between each piece, as well as the amount of overhang I wanted to allow on each side. Once you have all the pieces laid out, get out your nail gun (I used a brad nailer) and attach the cross pieces to the legs. Note: Remember that these legs will fold, so you’ll attach 4 pieces to the outer legs on both X, and 3 pieces to the inner legs on the other. If you attach them to both legs, the manger will never fold. 🙂
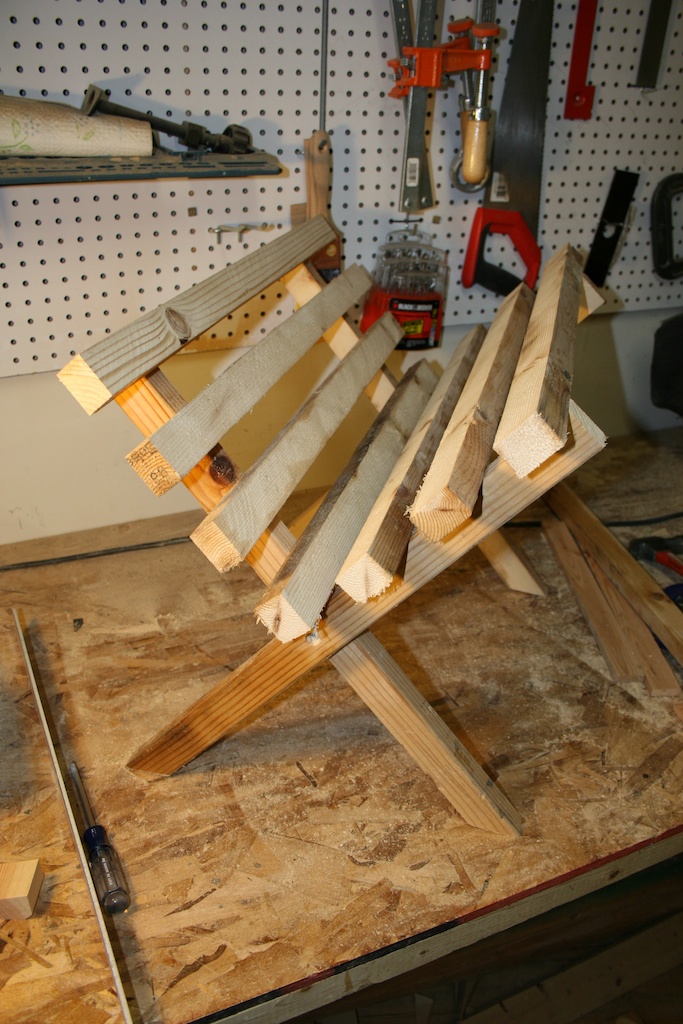
Step six: re-install the bolt and nut in both sets of legs and fold up to form completed manger. Tighten nut to have manger stay in an X. I found that this requires quite a lot of tension – I used a pair of pliers to get it very tight so it would not easily fold flat when set up. Now all you need is a a few towels and bathrobes, some kids, and someone willing to pretend to be a donkey.
Enjoy your manger, and Merry Christmas!
Leave a Reply