Water is fascinating. Especially when photographed. At high speed.
I’ve always wanted to create some shots of water droplets as they hit the surface of a pool of water. I’ve seen many similar shots over the years, and wondered how it was done. A water drop hitting the surface, creating a splash, and dissipating into the larger body of water happens so quickly, it is very difficult to even see it with the naked eye, let alone timing your finger on the shutter of your camera to catch the action just right. Factoring in the need to have things focused just right, getting the timing of your flash dead on, and making the water contort into just the right shape to be interesting, and you may think this is nearly impossible. Those photographers who have managed to capture something like this must be magicians.
No, they’re not. It’s actually not as hard as it might seem. In fact, all the images you see in this blog post were captured in my kitchen using little more than my Canon 60D with 24-105L lens, a 430EX flash, a tripod, some cheap remote triggers, and stuff I found around the kitchen. Here’s a picture of the setup during my shoot:
Yes, my wife gave me funny looks while setting up, but the results speak for themselves. Here’s what’s going on: I’ve got a broom suspended between the backs of 2 chairs from the dinner table. Taped to the broomstick is a plastic ziplock bag full of water. This bag has a hole poked in it with a push-pin to supply a steady and predictable drip of water. Directly below the bag is a tray full of water. This happens to be a painter’s tray you use when rolling walls with paint, but a cake pan, large pot, or really anything that will hold water and provide a relatively large surface to shoot against will work well. Behind the pan of water is a piece of paper that I printed some stripes on to provide some interesting shapes on the water. Pointed at this paper is my 430EX flash, with a remote trigger attached. That’s really all there is to it for the setup: Something to hold the water, something to provide the drips, a flash, a simple backdrop, and your camera.
I started with a shutter speed of 1/250, as that is the fastest the remote trigger would sync with the flash. Here is one of my first shots:
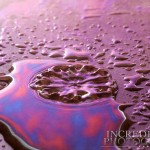
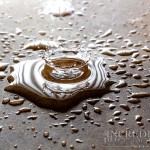
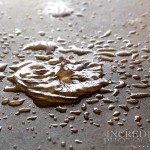
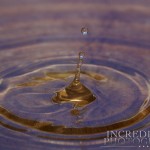
I really loved the shape the water took just after a drop hit it in this shot, but I did not love a few other things: I can see the paint stains in the paint pan through the dark parts of the image, and I can still detect a tiny bit of motion blur. I decided to swap out the paint tray with a stone cookie sheet that seemed to have a more even surface. I was pleasantly surprised to discover that the water created fantastic beading patterns on this pan as it dripped. I shot several more frames with this setup, only changing the paper that my flash fired into (thus changing the perceived color of the surface of the water):
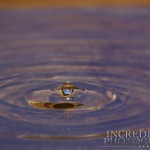
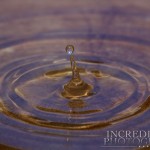
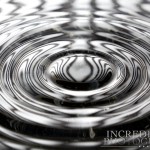
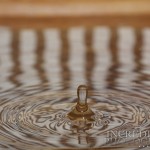
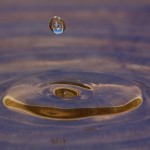
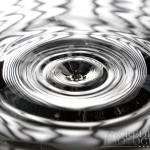
I really wanted to see if I could eliminate all motion blur completely, but knew that would require a much faster shutter speed. So I ditched the remote-controlled flash setup, and just attached my flash directly to the camera. Then I manually set the flash to be zoomed as narrow as it would go, and aimed it to shoot over where the water would drop, and into the backdrop I still had set up. Then I set my camera to high-speed sync with my flash, cranked the shutter speed up to 1/6400 and was very happy with the results:
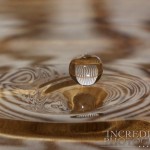
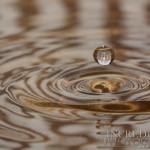
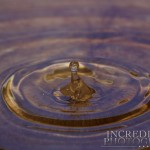
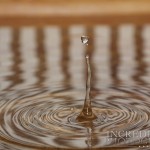
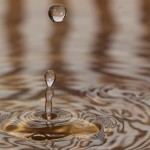
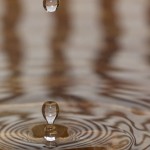
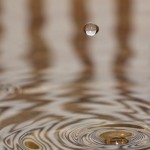
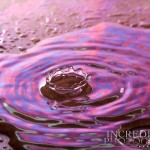
Here’s a gallery of all the shots from this shoot. Enjoy!


Leave a Reply